
A water softener not using salt needs a few checks before you add another bag. First test the treated water, check the bypass and controls, and establish whether regeneration is happening. Then look for a salt blockage. If the salt is loose and the system recharges, follow your model’s filling and brine-draw troubleshooting instructions. Whirlpool uses this kind of staged approach rather than treating every unchanged salt level as the same fault. [1]
This guide covers salt-based home water softeners. Button sequences, valve positions, and normal tank water levels vary by model.
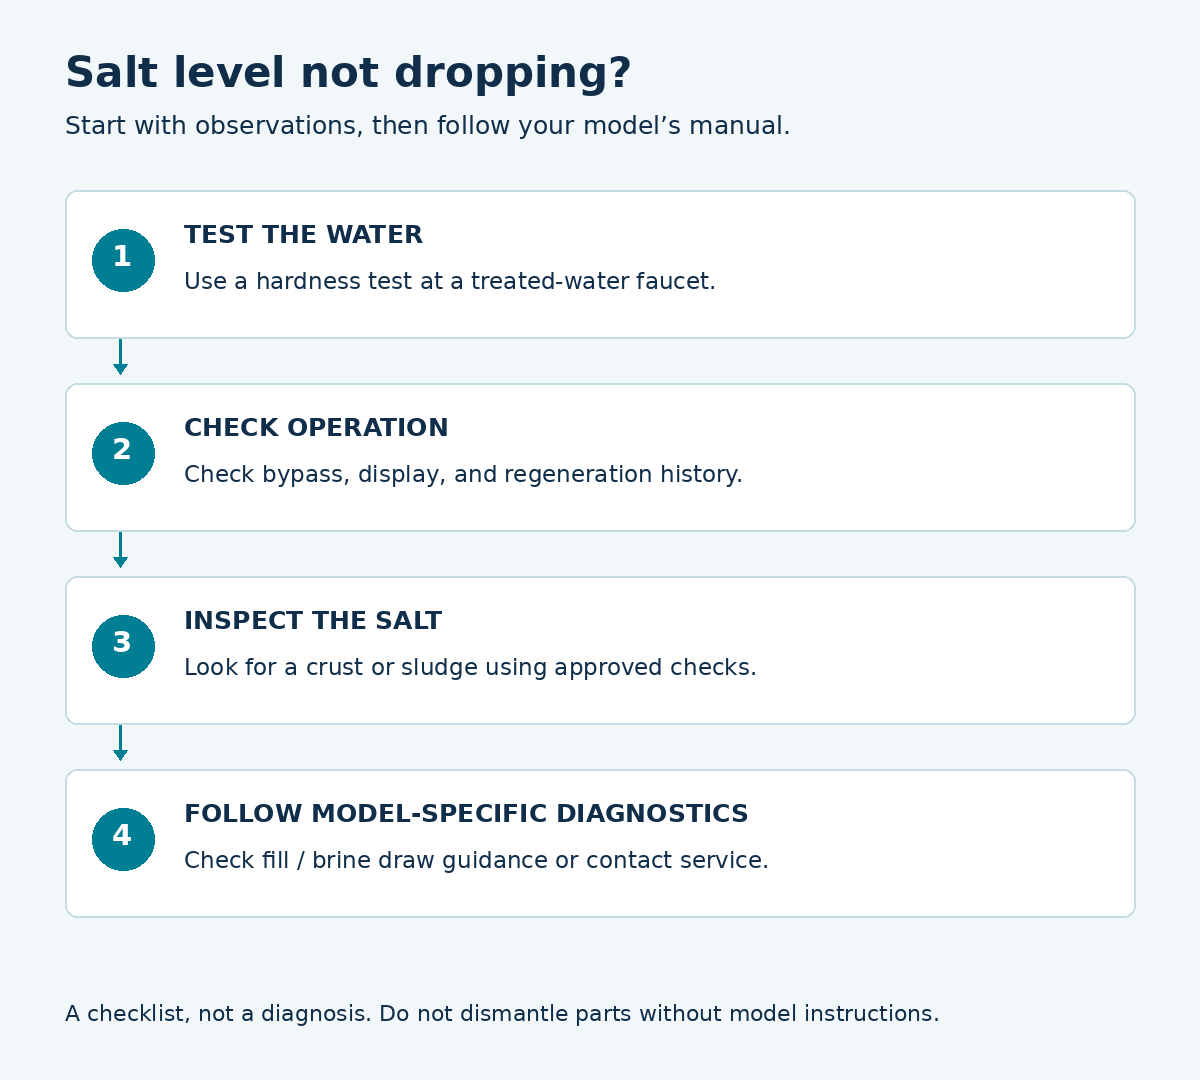
Diagram above: Start with observable checks. Use your model’s manual for repair procedures.
Is your softener using less salt—or none at all?
If the tank is empty rather than showing an unchanged salt level, follow the steps to take when your water softener runs out of salt for refill and recovery guidance.
Begin with what you can document: when you last added salt, whether household water use has changed, and whether the system has recharged since then. On a demand-controlled softener, water use helps determine when regeneration occurs. An unchanged level over a short observation period does not, by itself, identify a fault. [1]
Take a photograph of the salt level and record the date. Check it again under comparable conditions, without adding salt between observations unless the manual’s minimum level requires a refill. Pair that record with hardness results and regeneration information. The useful question is whether the system is delivering treated water and completing its normal process.
Water softener not using salt? Start with these simple checks
| What you notice | What to investigate | Next check |
|---|---|---|
| Little visible salt change | Whether regeneration has occurred | Record salt level, water use, and recharge history |
| Hard water despite salt in the tank | Bypass, programming, or regeneration | Test hardness and review the controls |
| A solid crust beneath loose salt | A possible salt bridge | Consult the approved bridge-removal procedure |
| No apparent refill during the expected stage | The filling route | Follow the model’s fill-cycle diagnostic |
| Water stays unusually high | Brine withdrawal, drainage, or valve trouble | Use excess-water troubleshooting or request service |
These observations narrow the investigation; they are not confirmed diagnoses. The checks below explain how to use them.
Test the treated water’s hardness
Use a water-hardness test at a faucet known to receive softened water, following the test’s instructions. Record the result and its units. Do not judge performance only by how slippery the water feels: Rheem specifically recommends operational checks and hardness testing instead. If the manufacturer directs a manual recharge as part of its test, let that cycle finish before taking the follow-up sample. [2]
Check the bypass position and display
Compare the bypass valve position with the diagram for your installation. A single bypass handle and a three-valve arrangement do not use interchangeable instructions. Review the programmed hardness against your model’s setting guidance, and note any displayed alert before changing anything. [2]
For an electrically powered unit, check whether the display is working and whether power has been interrupted. Write down the exact error code rather than clearing it first. Culligan includes power and system alerts among its basic troubleshooting checks. [3]
Confirm that regeneration is happening
Consult the owner’s manual for a recharge history, status screen, or other available indicator. On a metered system, also check whether it registers water use. Whirlpool explains that its flow meter supplies the usage information needed to trigger recharging; a failure to register flow can therefore interrupt automatic regeneration. [4]
Use the diagnostic display and faucet specified for your model. Do not copy Whirlpool’s button sequence onto a different controller. If your display fails the manufacturer’s flow check, record that result for support. It does not establish which component needs replacement.
Choose the next check from the observed symptom
| Observation | Next guide or check |
|---|---|
| Water is soft; no error; household use has fallen | Measure salt consumption over comparable refill periods before calling it a fault. |
| Expected automatic cycles never occur | Check regeneration and metering. |
| Crust suspends salt above an empty space | Inspect a salt bridge using the model procedure. |
| No water appears during a documented fill | Follow the no-water/fill path. |
| Level stays unusually high after the cycle | Follow the high-water/draw path. |
| Usable salt has run out | Use the documented refill and recovery sequence. |
Complete one relevant path and record the result. A full-looking salt tank and a successful button press do not establish that usable brine reached the resin.
Check for a salt bridge or salt mushing
A suspended crust and sludge at the bottom are different conditions. Follow the salt-bridge inspection guide for a crust, or the model-specific cleaning comparison for residue. Do not add salt over a suspected blockage or improvise disassembly.
If it regenerates but still does not use salt
A recharge starting does not confirm that fill and brine draw succeeded. Compare the displayed stage with the manual. Use the no-water guide if the documented fill never occurs, or the high-water guide if the level remains high after the cycle.
Follow only the exact manufacturer’s diagnostic for tubing, valves and injectors. For units with a nozzle and venturi, identify the assembly by model before opening it. Do not add water to match a photograph or disconnect a line based on a general symptom.
If regeneration runs but brine draw remains uncertain, use the injector and brine-draw troubleshooting guide to organize the next model-specific checks.
When to call for service
Arrange help when the approved checks do not restore normal operation, when a fault requires work you cannot perform confidently, or when the tank’s water level remains abnormal. If you see an active leak or overflow, stop the routine checks and follow the system’s shutdown or bypass instructions.
Prepare these details before contacting support:
- Brand, model number, and the exact displayed code.
- Dates of your last refill and known regeneration.
- Hardness readings, units, and sampling location.
- Photographs of the salt and water levels.
- Which manual-directed checks you completed and their results.
This record gives the technician concrete observations and helps avoid repeating checks or replacing parts on a guess.
Sources and model-specific instructions
Manufacturer documentation checked September 24, 2026. This general guide does not replace your model’s maintenance instructions.
- Whirlpool: Little/No Salt Use
- Rheem: How do I know if my softener is working?
- Culligan: Water softener troubleshooting
- Whirlpool: Failure to Meter Water
- Culligan: Choosing water softener salt
- Whirlpool: Is My Softener Filling?
- Whirlpool: Water levels in the salt tank
Editorial update: October 6, 2026. Added practical comparison or record tools and consolidated overlapping explanations. Model examples are identified by their linked manufacturer documents; blank records and hypothetical calculations are not field-test results.
Updated October 16, 2026: added a working calculation or simplified overlapping explanations. Examples and records are not field-test results.