
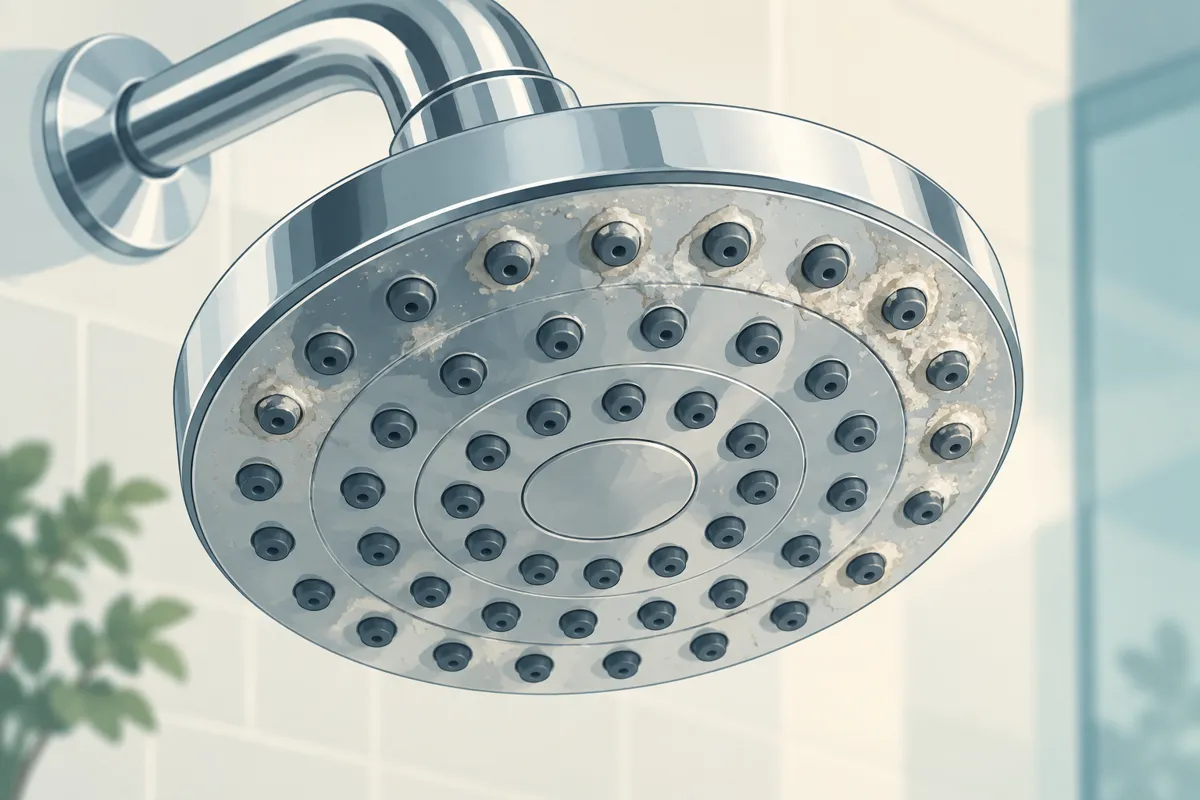
To remove hard water from a shower head, identify its finish and nozzle design, then use the manufacturer’s approved cleaning method. Some flexible nozzles can be cleaned by gently rubbing them; other designs allow a compatible soak. Do not assume every finish tolerates an overnight vinegar treatment.
If the shower sprays sideways or loses flow, deposits are one possible explanation. The goal is to check an accessible part without damaging the finish or overlooking a wider plumbing problem.
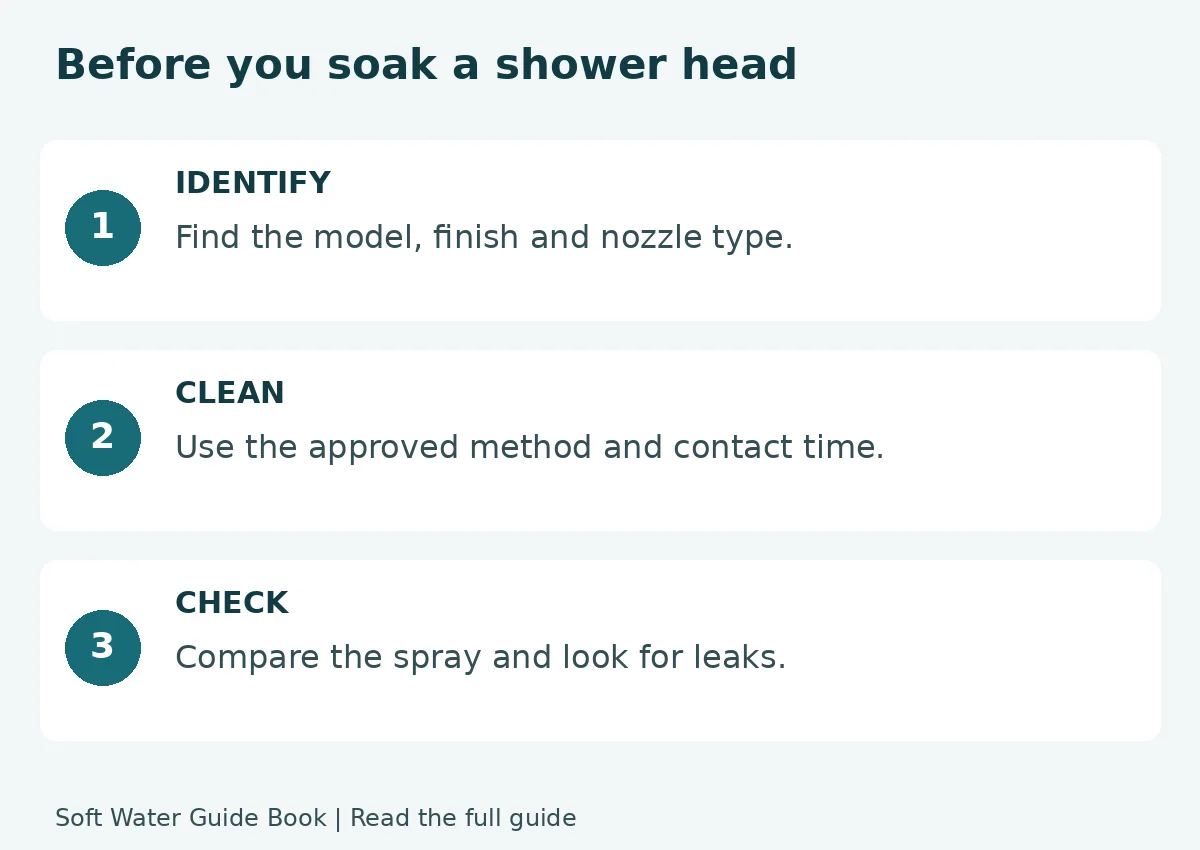
Check before you remove hard water from the shower head
Find a brand or model marking and compare the care guide with the actual fixture. Record whether the problem affects every spray setting, only some nozzles, or other faucets too. A quick photo of the nozzle face helps you compare the result later.
| Situation | Next step | Reason to pause |
|---|---|---|
| Deposits on flexible spray holes | Check whether the maker permits gentle rubbing | Nozzles are split or coming loose |
| Rigid nozzles with mineral crust | Find the model-approved cleaning method | Finish or coating is unidentified |
| Uneven flow after cleaning | Check the maker’s inlet-screen instructions | Disassembly is not described for owners |
| Low flow at several fixtures | Investigate the shared supply | A shower-head soak cannot assess the whole system |
Delta’s two cleaning paths
| Design | Manufacturer method | Limit |
|---|---|---|
| Touch-Clean spray holes | Wipe the nozzle face to loosen deposits. | Do not replace this with a soak by default. |
| Non-Touch-Clean, more difficult deposits | Equal parts white vinegar and water; inspect periodically, with a toothbrush if appropriate. | The cited page gives no fixed soak time. Verify product-specific finish care. |
This comparison follows Delta’s cited guidance. [1] A 50/50 mixture means, for example, one cup of vinegar plus one cup of water; it does not mean concentrated acid. Keep this single cleaning solution separate from bleach and other products.
A careful cleaning sequence
1. Start with the permitted surface cleaning
Turn off the shower and let the fixture cool. Use the cloth or nozzle-cleaning technique specified for the model. Begin gently so you can see whether the visible deposit comes away without removing the head. Avoid pushing a pin or drill into spray openings unless the manufacturer explicitly directs it.
2. Decide whether removal is necessary
If the manual calls for removing the head, follow its method and keep washers or screens in their original order. Do not twist the pipe coming through the wall. Stop if the connection resists, the pipe moves, or the fixture is unfamiliar. A plumber can address a stuck connection without turning a cleaning task into a leak.
3. Follow the approved treatment, not a universal soak time
Use the exact dilution, contact time, and surfaces listed in the care instructions. If the guide permits vinegar but does not specify a time for your finish, ask the manufacturer rather than choosing an overnight soak. Keep cleaner off nearby stone, painted surfaces, and other materials whose compatibility is unknown.
Never mix vinegar with chlorine bleach; the combination can release chlorine gas. A cleaning bag or bowl should hold only the single solution allowed for the job. [2]
4. Rinse, reassemble, and compare
Rinse as directed and reinstall any removed parts using the model instructions. Turn on the water gradually, check the connection, and compare the spray pattern with your original observation. If a leak appears, stop using that connection until it is corrected.
If the shower still has poor flow
Remaining poor flow does not prove that the head needs more acid. Delta notes that debris can affect an aerator or filter and cause uneven delivery. Its flow guide provides a separate inspection route for those parts. [3]
Compare another fixture and note whether hot and cold behave differently. If only the shower remains affected, report that to the fixture manufacturer. If several outlets are affected, give the plumber that wider pattern instead of replacing the head on speculation.
Prevent repeat buildup and check the water
Add a visual check of the nozzle face to your normal bathroom care. Keep the finish clean using its instructions and note how quickly deposits return. A shorter interval between cleanings is useful information, but it is not a hardness measurement. If you rent, compare hard-water options for an apartment before changing the fixture.
You can test total hardness at a confirmed sampling point. If the home has a softener, confirm that the shower receives treated water and review the maintenance checks. Also verify the bypass position before concluding that the unit has failed.
For spots on the faucet body, use finish-specific faucet cleaning. For the enclosure, use shower-door care.
Editorial review November 7, 2026: consolidated repeated manufacturer guidance at the relevant cleaning step; retained material-specific limits.
Sources and care instructions
Sources reviewed September 30, 2026. Use the instructions for your exact product, material, and equipment.
- Delta: Removing mineral deposits from shower heads
- Poison Control: Vinegar and chlorine bleach
- Delta: How to fix your flow
- NSF: Standards for water-treatment systems
Manufacturer examples and task links checked October 16, 2026. The comparison is editorial guidance, not a report of hands-on cleaning tests.